|
| |
TM 5-4120-361-14
(3) Coat the filter with a dust
collecting adhesive (see Appendix F) by
immersion or spraying.
Make sure that
the total air filtering surface is thor-
oughly covered with the adhesive when
spraying the filter.
Allow excessive
adhesive to drain before installing
filter.
c.
Installation.
(1) Refer to figure 4-2 and slide
the air filter into four filter retain-
ing clips.
(2) Refer to figure 4-1 and in-
stall evaporator inlet louver.
4-4.
Condenser Guard.
Remove any obstructions.
Brush off
loose dirt and wipe clean.
a.
Removal.
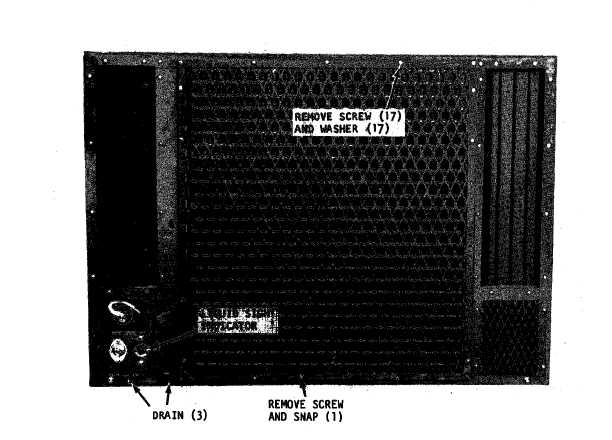
(1) Refer to figure 4-3 and remove
condenser guard.
(2) With guard removed, wipe con-
denser coil clean.
b.
Installation.
(1) Refer to figure 4-3 and in-
stall guard.
4-5.
Evaporator Coil and Condensing
Coil.
The coils (heat exchangers) should be
serviced as often as necessary to insure
maximum operating capacity of unit.
Dirt and lint loaded coils or bent coil
fins not only restrict normal volume of
air flow but also insulate the coils,
thus reducing their efficiency as heat
Figure 4-3.
Condenser guard removal and installation
4-3
|