 |
|||
|
|
|||
|
|
|||
| ||||||||||
|
|
 TM9-4120-423-14&P
REMOVAL
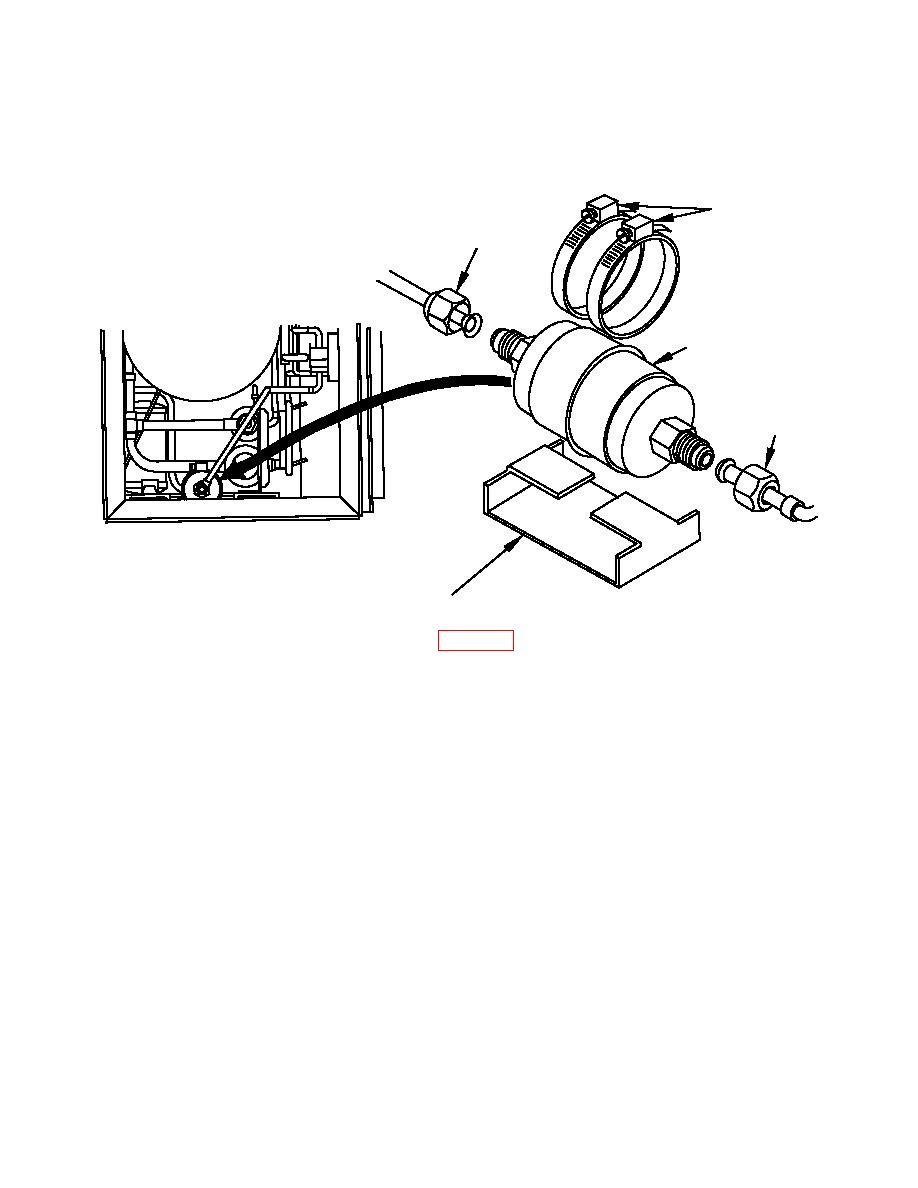
Dehydrator.
CLAMPS
FLARE
NUT
DEHYDRATOR
FLARE
NUT
RIGHT SIDE
BRACKET (PART OF HOUSING)
1
Discharge the Refrigerant R-22 system per WP0070.
2
Using wrench, loosen and disconnect flare nuts.
3
Using screwdriver, remove two clamps.
4
Remove dehydrator. Note direction of flow arrow for installation.
INSTALLATION
CAUTION
Replacement dehydrators are packaged with sealing caps on the flare fittings, to prevent
moisture contamination of the desiccant filtering media. Remove these caps immediately
prior to installation. Never install a dehydrator from which caps have been removed for
an extended or unknown period of time.
1
Place dehydrator in unit and slip two clamps around dehydrator and tabs that are part of bracket
welded to bottom of housing. Be sure flow arrow is pointing away from compressor.
2
Using screwdriver, tighten clamps.
0080 00-2
|
|
Privacy Statement - Press Release - Copyright Information. - Contact Us |
