 |
|||
|
|
|||
|
|
|||
| ||||||||||
|
|
 TM 9-4120-428-14
0017 00
of the mounting hardware for tightness and
security.
3. Inspect both the wiring harness (3) for damage
or chafing and all of the electrical connections
for tightness.
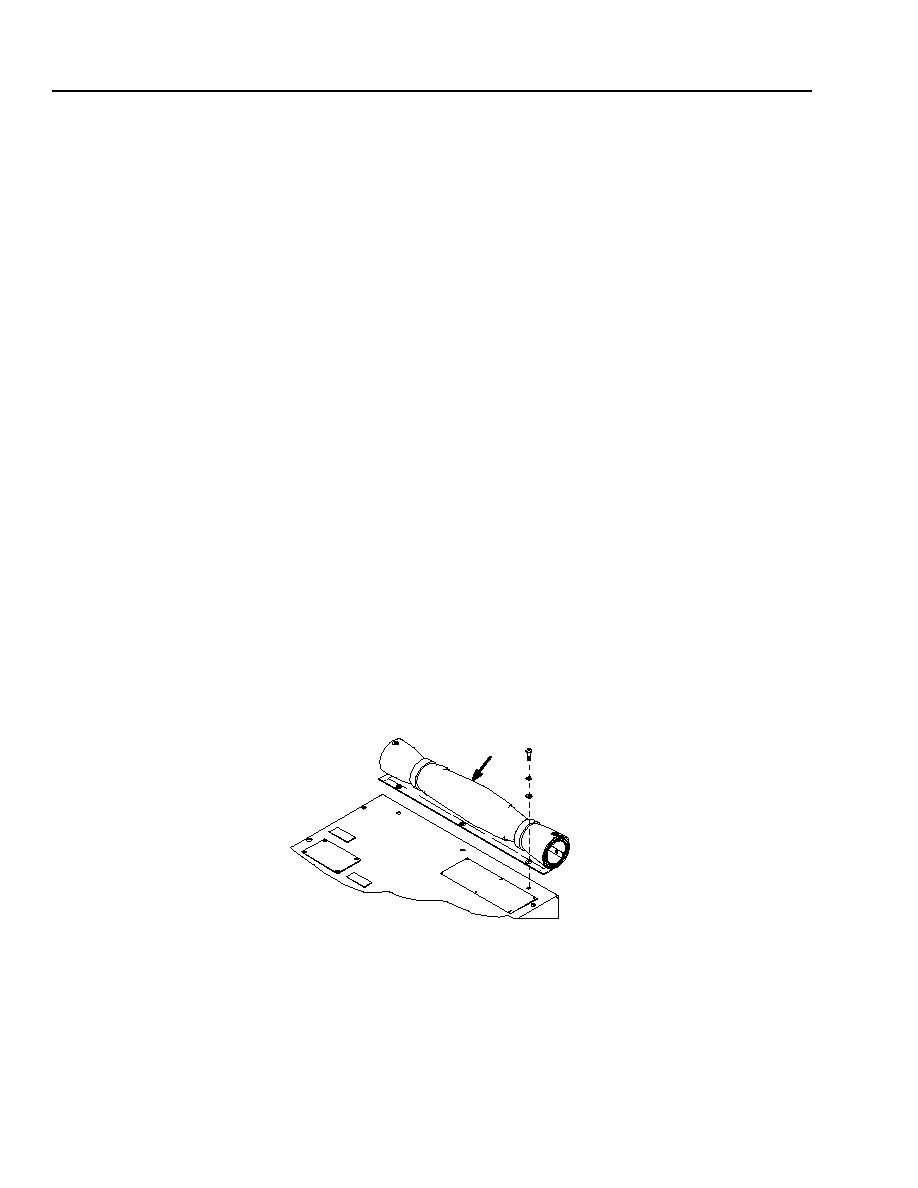
1. Wipe dust or dirt from both the compressor
13
Compressor
canister (4) and all remaining components and
surfaces in the lower section of the cabinet.
2. Inspect the compressor crankcase heater
element for signs of over-heating or
3. Inspect both the wiring harness for damage or
chafing and all of the electrical connections for
tightness.
4. Check all mounting hardware for damage or
chafing.
1. Check all mounting hardware and linkage
14
Condenser Discharge Air
connections for tightness.
Louver and Actuator
2. Clean and lubricate as necessary.
3. Install the condenser air inlet guard and the top-
rear panel.
1. Wipe all surfaces clean.
15
Panels, Nameplates, and
Housing
2. Check that all wiring and instruction plates are
legible and in place.
3. Replace illegible or missing plates.
4. Check that all panels are in place. Make sure
there is no dents, breaks, or other damages
considered hazardous or otherwise interfere
with the operation of the unit.
1
16
1. Roll the fabric cover (1) down and inspect for
Fabric Cover
tears, cracks, or any other signs of damage or
2. If necessary, wash the fabric cover using fresh
water and a small amount of mild detergent.
3. Allow fabric cover to dry, then roll up and
secure the cover in the stowed position.
0017 00-6
|
|
Privacy Statement - Press Release - Copyright Information. - Contact Us |
