 |
|||
|
|
|||
|
Page Title:
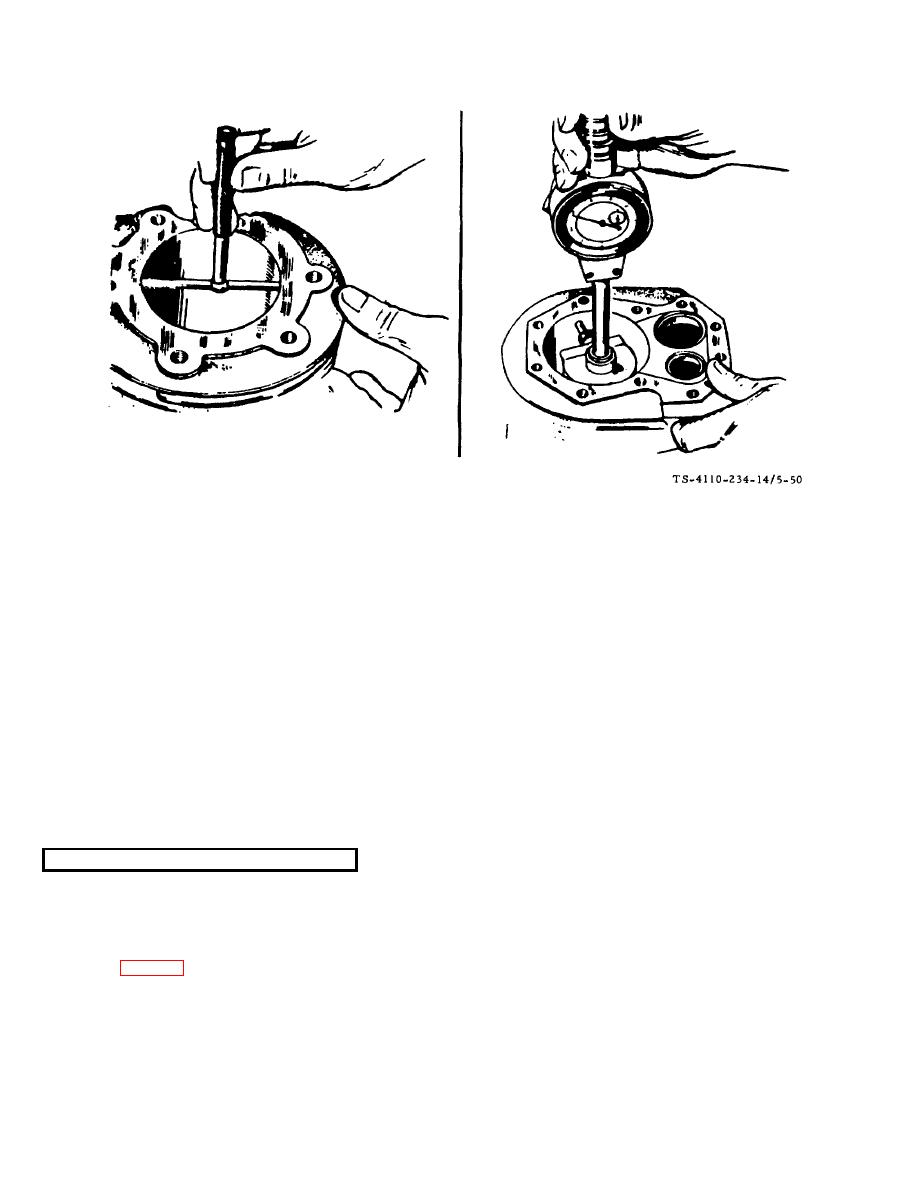
Figure 5-50. Methods of Cylinder Bore Inspection F10000RG-2 |
|
||
| ||||||||||
|
|
 TM5-4110-234-14
TO 40R7-5-7-1
Figure 5-50. Methods of Cylinder Bore Inspection F10000RG-2
(b)
Also, lengthwise of the block, measure and record as "B" the cylinder diameter at the piston skirt travel.
(c) Crosswise of the block, measure and record as "C" the diameter of the top of the cylinder at the greatest
point of wear.
(d)
Measure and record as "D" the diameter at the bottom of the cylinder bore and crosswise of the block.
(e)
Reading "A" compared to reading "B" and reading "C" compared to reading "D" indicates cylinder taper.
(f) Reading "A" compared to reading "C" and reading "B" compared to reading "D" indicates whether or not the
cylinder is out of round.
(5) If the cylinder taper exceeds 0.005 inch (.127 mm) it must be rebored and honed to accommodate the next
size piston. Refer to general support maintenance.
(6) If the out of round exceeds 0.002 inch (.051 mm) the cylinder must be rebored and honed for the next size
piston. Refer to general support maintenance.
5-43.
MAIN BEARINGS (F10000RG-2)
a. Inspection. Check bearings for wear, loose, broken cracked, or missing parts.
b. Removal of the camshaft or crankshaft bearings requires complete disassembly of the engine. Use a press
or suitable drive plug to remove the bearings. Support the casting to avoid distortion and avoid damaging the bearing bore
during removal and installation. Use oil on the bearings to reduce friction when installing and again lubricate with oil after
installing (fig. 5-51). Use combination bearing driver to install the camshaft bearings.
5-64
|
|
Privacy Statement - Press Release - Copyright Information. - Contact Us |