|
| |
TM 5-4120-361-14
TO REMOVE HEATING ELEMENT:
GRIP HEATING ELEMENT FITTING FLANGE WITH WRENCH PLIERS, AND WITH END WRENCH, REMOVE
LOCKNUT AND WASHERS.
SLIDE ELEMENT FREE OF HOUSING PANEL, THEN OUT OF MOUNTING
BRACKET.
START WITH TOP ELEMENT
Figure 4-18.
Heating element and
d.
stall
stall
4-32.
AND WORK DOWN.
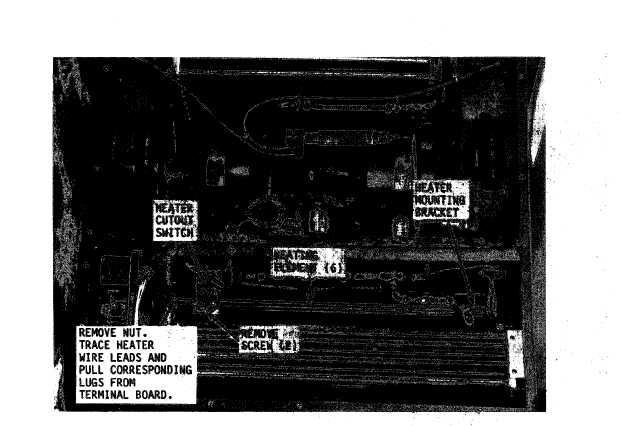
heater
Installation
(1) Refer to figure 4-19 and in-
the thermostatic switch.
(2) Refer to figure 4-4 and in-
the top front cover.
Wiring.
a. Inspection. Inspect insulation
for cracks and signs of deterioration.
Pay particular attention to wires pass-
ing through holes in the frame and over
rough metal edges.
If inspection re-
veals a broken or cut wire, and the wire
is exposed, it must be repaired.
If the
break in the wire is in the wiring har-
cutout switch, removal and installation
ness or in an inaccessible area, replace
wire (c. below).
b. Testing. Test a wire for con-
tinuity by disconnecting each end from
the component(s) to which it is con-
nected.
Touch the test probes of a
multimeter to the ends of the wire under
test.
If continuity is not indicated,
the wire is defective and must be re-
paired or replaced.
c.
Replacement.
To replace a defec-
tive wire lead, disconnect both ends at
the components and install new wire with
an exact duplicate of wire being re-
placed.
If the defective wire is diffi-
cult to remove from wiring harness, cut
4-29
|