 |
|||
|
|
|||
|
|
|||
| ||||||||||
|
|
 TM 5-4120-393-14
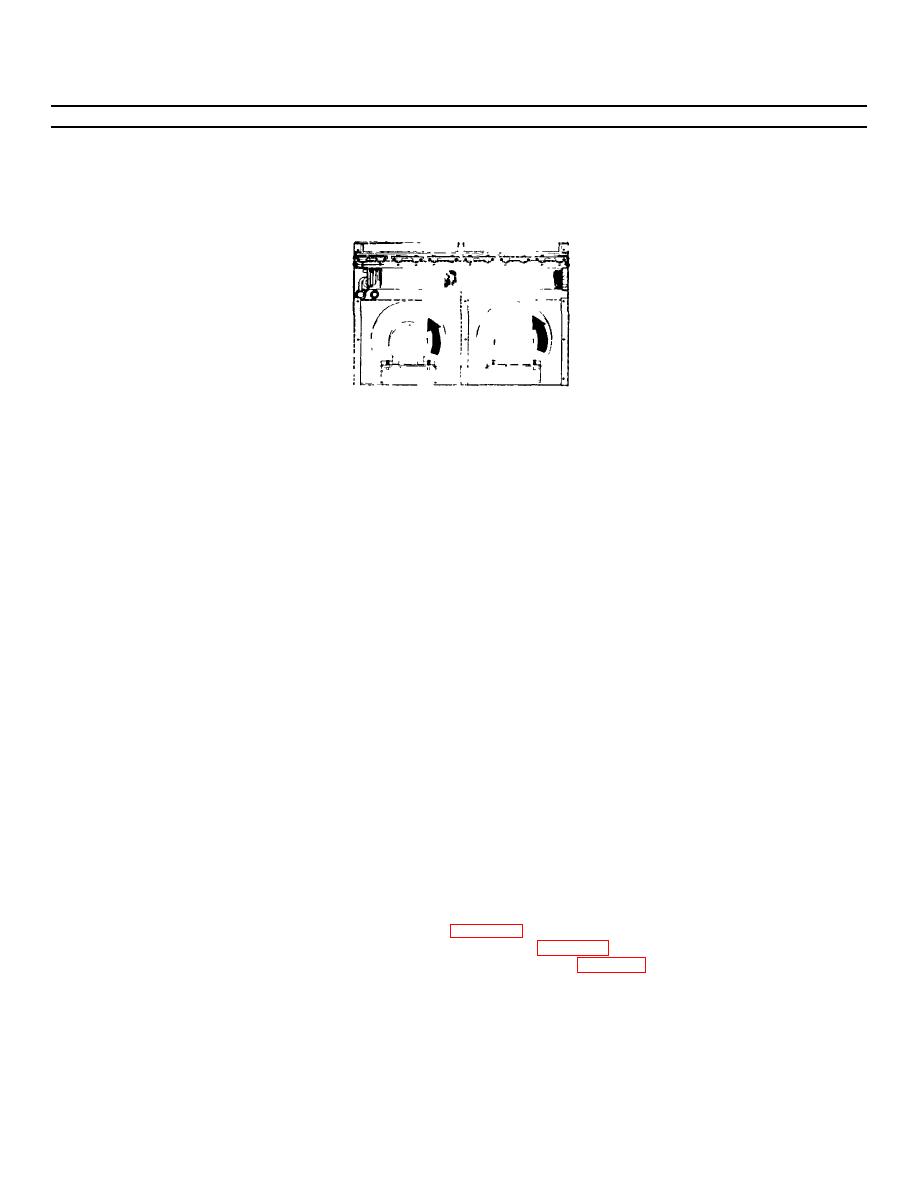
4-55. Evaporator Fans (cont)
CAUTION
The fans are identical parts. They rotate in the same direction. (Similar units have
counter rotating fans). Check rotation arrow on fan.
3.
Place fan (8) in unit and slip motor (3) shaft down and into fan (8).
4.
Align motor mounting holes and reinstall shims (7) in same location as noted in step 4 of REMOVAL.
5.
Using wrench, secure motor (3) with four screws (4), lock washers (5), flat washers (6), and shims (7).
6.
Adjust fan (8) so that there is 0.03 inches of clearance between fan (8) and inlet bell (12).
7.
Tighten setscrews (2).
8.
Check that fan (8) is centered on inlet bell (12). If it is not, loosen mounting hardware and adjust as necessary.
Retighten mounting hardware.
9.
Spin fan (8) and check that there is no interference with inlet bell (12).
10. Connect motor cable connector (1).
WARNING
The following test must be conducted with the power on.
Exercise extreme
caution.
11. Connect power and turn mode selector switch to VENT. Check that fans are rotating in the proper direction.
12. Turn unit OFF.
NOTE
FOLLOW ON MAINTENANCE:
1.
Install top panel. See para 4-25.
2.
Install conditioned air filters. See para 4-30.
3.
Install conditioned air inlet grilles. See para 4-22.
4-128
|
|
Privacy Statement - Press Release - Copyright Information. - Contact Us |
|
|
Integrated Publishing, Inc. - A (SDVOSB) Service Disabled Veteran Owned Small Business
|

