 |
|||
|
|
|||
|
Page Title:
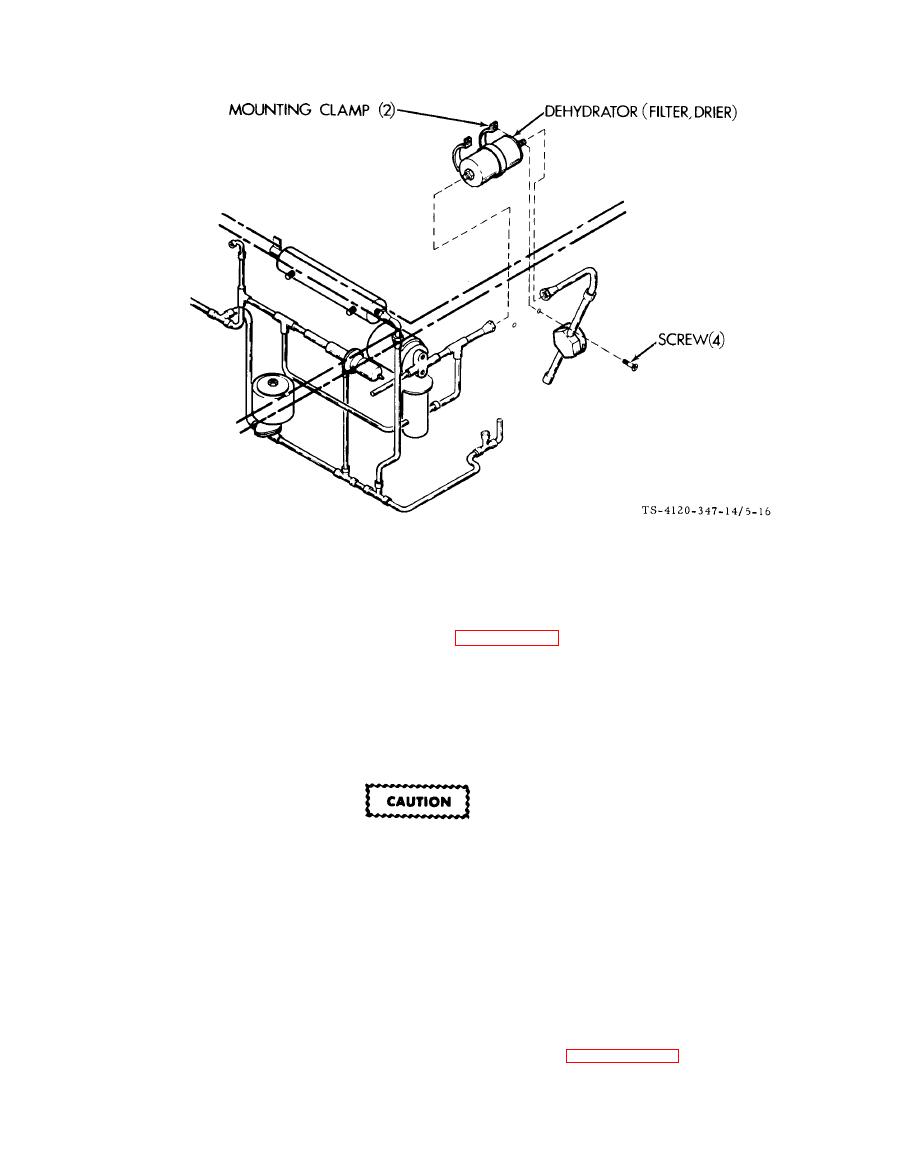
Figure 5-16. Dehydrator (Filter Drier) |
|
||
| ||||||||||
|
|
 TM5-4120-347-14
Figure 5-16. Dehydrator (Filter Drier)
(2) Remove the top rear cover.
(3) Discharge and purge the refrigeration system per paragraphs 5-9 and 5-10.
(4) Remove the screws and mounting clamps.
(5) Disconnect the two flare nuts and remove the dehydrator from the unit.
b. Installation.
.
Replacement dehydrators are packaged with sealing caps on the flare fittings to prevent moisture
contamination of the desiccant filtering media. Remove these caps immediately prior to installation.
Never install a dehydrator from which caps have been removed for an extended or unknown period
of time.
(1) Connect the flare fittings to each end of the dehydrator.
(2) Install the mounting clamps.
(3) Leak test the newly connected joints and all connections in the area.
(4) Install the top rear cover.
(5) Evacuate and charge the refrigeration system in accordance with paragraphs 5-13 and 5-14.
5-34
|
|
Privacy Statement - Press Release - Copyright Information. - Contact Us |
