|
| |
TM5-4120-377-14
Follow-on procedures: 1. Install mist eliminator. (See para 4-35.)
2. Install evaporator fan. (See para 4-62.)
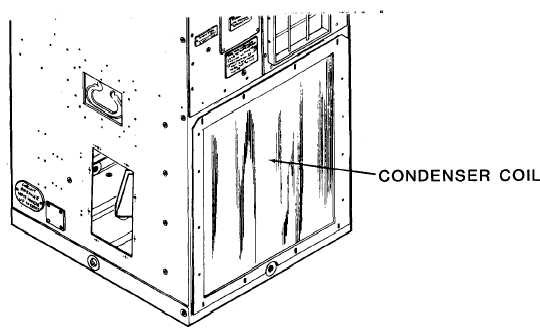
4-65. CONDENSER COIL CLEANING
Preliminary procedures: 1. Remove junction box. (See para 4-46.)
2. Remove condenser coil guard. (See para 4-26.)
3. Remove radio frequency filter. (See para 4-44.)
TS4120-377-14/4-78
Figure 4-78.
Condenser Coil
a. Inspection of installed coil
(1) Check to be sure that power is disconnected.
(2) Check for accumulated dirt. Clean if an accumulation of dirt is evident.
(3) Check fins for dents, bent edges, or any condition that
damaged fins with a plastic fin comb.
Compressed air used for cleaning purposes will
would block or distort air flow. Straighten all
not exceed 30 psi (2.1 kg/cm2).
Do not use steam to clean coil.
b. Cleaning. Clean coil with a soft bristle brush, vacuum cleaner and brush attachment, or use compressed
air at 30 psi or less from the inside of the unit to blow the dirt out. Take care to avoid fin damage. When using
compressed air, wear safety glasses or goggles. Dirt can be blown into your eyes.
4-122
|