 |
|||
|
|
|||
|
|
|||
| ||||||||||
|
|
 TM 5-4120-393-14
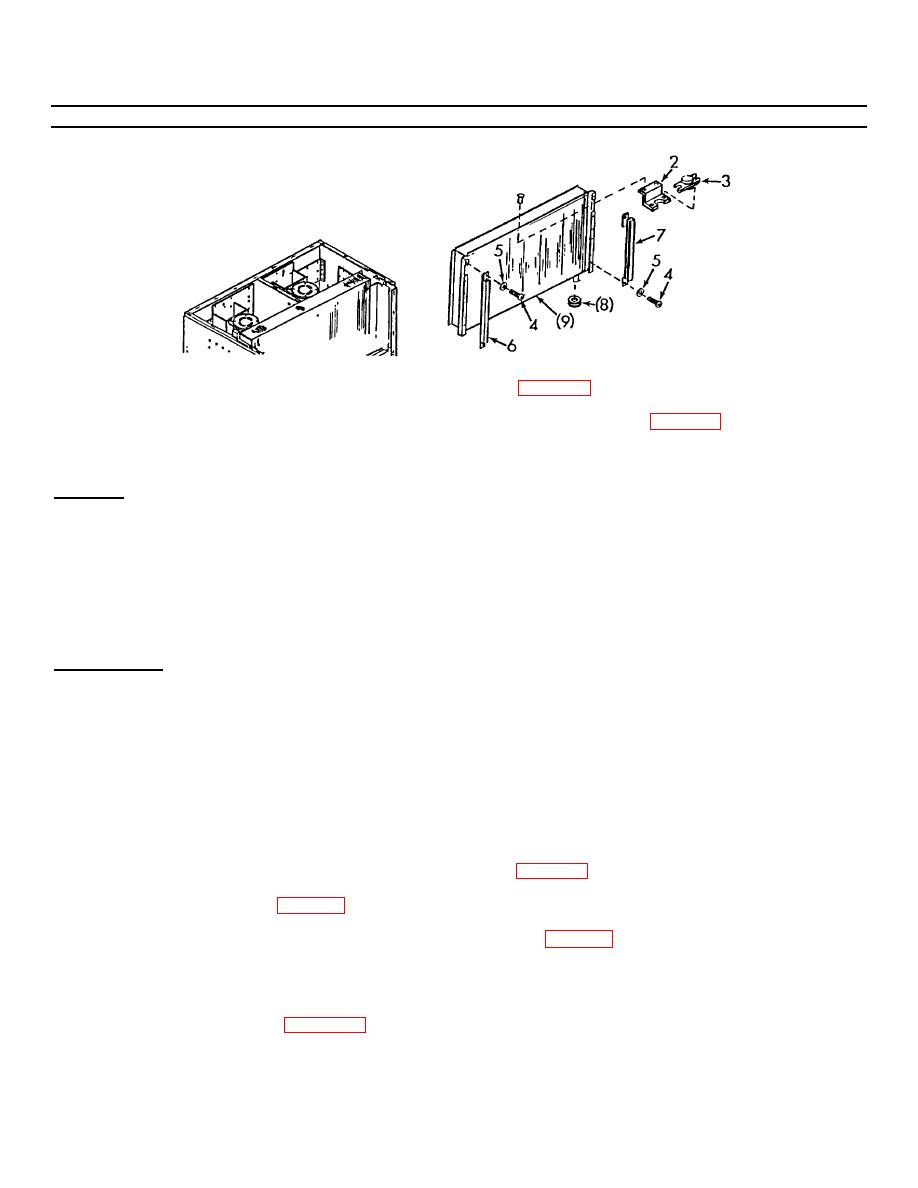
5-21. Evaporator Coil (cont)
6.
Remove tubing insulation and sensing bulb from suction line. See para 5-12.
7.
While purging the system with nitrogen debraze the tube joints at the evaporator. See para 5-11.
8.
Carefully lift the coil (6) up and out of the unit.
REPLACE
When replacing evaporator coil, mark on new coil location of rivet points for the heater top support by copying from the old
coil. Remove old heater top support from old coil and rivet in place on new coil.
WARNING
When handling coils, wear gloves to avoid cuts and to reduce fin damage on the
coil.
INSTALLATION
1.
Carefully slide evaporator coil (5) down into unit and align holes.
2.
Using screwdriver, secure evaporator coil (5) with twelve screws (1) and washers (2) to channel assemblies (3) and
(4).
CAUTION
To prepare a joint on a valve for debrazing/brazing, disassemble the valve to the
extent possible, then wrap all but the joint with a wet rag to act as a heat sink.
3.
While purging the system with nitrogen braze the tube joints. See para 5-11.
4.
Replace the dehydrator. See para 5-16.
5.
Leak test all newly connected joints and those in the repair area. See para 5-12.
6.
Install grommet (5) on outlet tube.
7.
Reinstall and tape in place tubing insulation that was removed from the suction line tubing. If it was damaged, replace
with tubing insulation, item 17, Appendix E.
5-51
|
|
Privacy Statement - Press Release - Copyright Information. - Contact Us |
|
|
Integrated Publishing, Inc. - A (SDVOSB) Service Disabled Veteran Owned Small Business
|

