 |
|||
|
|
|||
|
Page Title:
Removing and Replacing Overflow Pipes |
|
||
| ||||||||||
|
|
 NOTE
The 90 bends provide reinforcement to the .neck base
(2) The flat section of the copper patch is
soldered to the tank. See Figure 3-27 for an
illustration of a repair to an inlet neck.
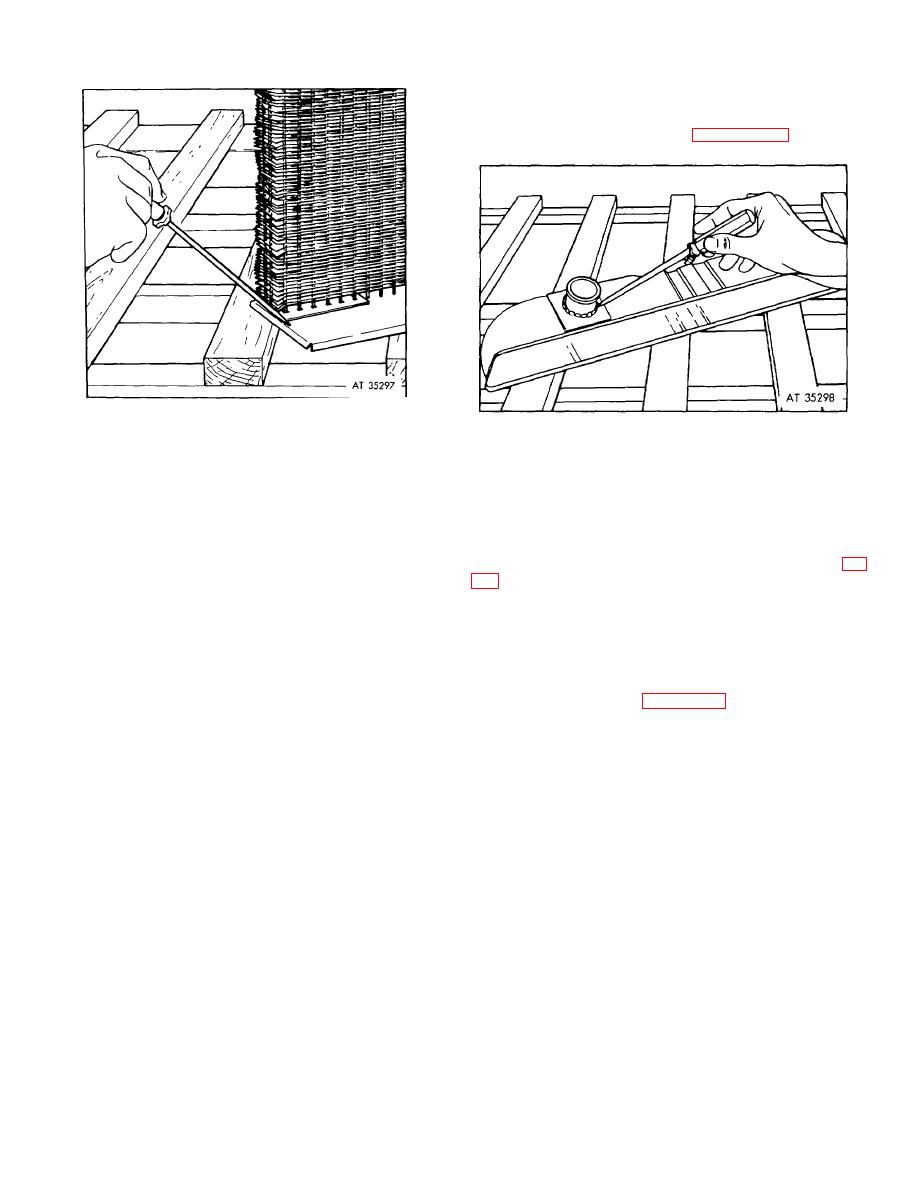
Figure 3-26. Header repair using a notched patch (before
Figure 3-27. Inlet neck repair.
soldering).
3-39.
Major Core Repairs
3-37.
Removing and Replacing Overflow Pipes
a. Straightening. A bent radiator core can be
a. Heat overflow pipe with the needle flame of a
straightened provided the bend is gradual, but not if it is so
torch.
sharply kinked that the water tubes or passages are
b. When the solder becomes plastic, reach down
collapsed.
into the filler neck with fingers and push pipe out past
(1) Straightening is done best in a press (9, fig
tinned portion, then, from the outside, pull it free.
pressure and protect the air fins.
NOTE
(2) If no press is available, place the core
between boards on a flat surface and hammer the upper
If overflow pipe is pulled first, it will probably break.
board to force the core back into proper shape.
(3) A core that has been slightly sprung by an
c. Clean, tin, and flux end of pipe, and insert it in the
impact at the side may be straightened in a simple frame
filler neck.
such as that illustrated In Figure 3-28.
d. Putting the flame on Joint, touch pipe with a
(4) Fit both clamps loosely on the core at top
solder rod. When solder beings to flow into Joint, remove
and bottom header strips with the lever in the position
torch quickly and let solder harden. Unless the fusing
shown, and tighten the clamp bolts as far as they will go.
metal enters the joint, it will give little strength.
(5) To straighten the face of core remove core
e. Resolder lower end of overflow pipe securely to
and repeat operation with the clamps this time at each
lower tank or radiator side members, fastening. It with
side of the core.
clips where possible.
(6) The frame may be further used to straighten
a side thrust in the core. The clamp to which the lever is
3-38.
Radiator Opening Neck Repair
attached should be secured on a bench and the core
fastened In It with the high part of the thrust upward.
a. General. A crack at the base of filler neck, inlet
(7) Fasten the second clamp bolt until core is
neck or outlet neck may be repaired in the same manner
straightened.
as the foregoing, with the exception of shaping the copper
patch which is cut and formed for soldering to both the
NOTE
tank and the neck.
Removing the radiator tanks is not necessary
unless the tanks are damaged.
b.
Repair Procedure
(1) Cut a number of slits along the center hole
radius and bend to a 900 angle for soldering to neck.
3-19
|
|
Privacy Statement - Press Release - Copyright Information. - Contact Us |
